If you are renovating or repairing your Auckland home, you may come across terms such as GIB fixing and GIB stopping. While both are important parts of creating finished plasterboard walls, they refer to different stages of the process.
Understanding the difference can help you identify what your project needs and why both services may sometimes be required before your walls are ready for painting.
What Is GIB Fixing and When Is It Required?
GIB fixing refers to the process of installing or repairing GIB plasterboard panels on walls and ceilings.
GIB, commonly used for interior walls and ceilings, provides a smooth surface that can later be stopped, prepared and painted. During a new build or renovation, sheets of GIB are cut and positioned before being secured to the appropriate framing.
GIB fixing can also be required when existing plasterboard has been damaged.
For example, you may need GIB fixing after:
- Removing a wall or doorway
- Plumbing or electrical work
- Water damage
- Accidental impact
- Renovating a room
- Replacing damaged plasterboard
- Installing new interior walls
If sections of your wall are damaged beyond a simple surface repair, GIB fixing services can help restore the underlying plasterboard.
What Is GIB Stopping and Why Is It Important?
Once GIB panels have been installed, the joints between individual sheets are still visible. The fastener holes and joins need to be properly finished before the wall can be painted.
This is where GIB stopping comes in.
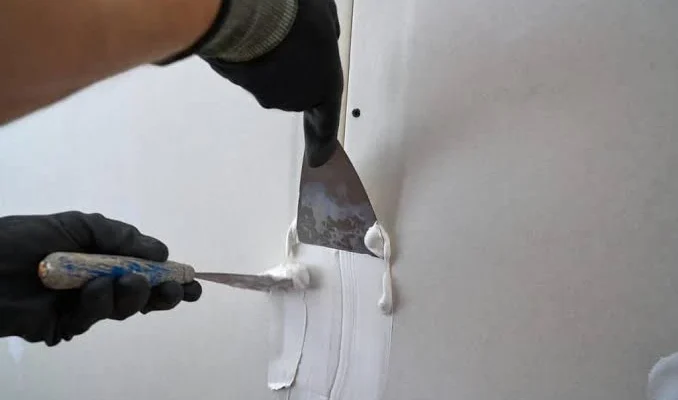
GIB stopping involves preparing and finishing the joints, corners and fixing points so that the finished surface is smooth and ready for decoration.
Without proper stopping, the joints between plasterboard sheets can remain visible through the paint.
Professional GIB stopping services can help create a more consistent surface before the painting stage.
GIB Fixing and GIB Stopping Are Different Stages of the Same Process
The simplest way to understand the difference is to think of them as two connected stages.
GIB fixing = installing or repairing the plasterboard.
GIB stopping = finishing the plasterboard so the joints and fixing points are smooth and ready for decorating.
You generally cannot achieve a high-quality finished wall by focusing on only one stage when both are required.
For example, if a new wall is being constructed, the GIB first needs to be fixed into position. The joints can then be stopped and finished before the surface is prepared for paint.
Why Proper GIB Stopping Matters Before Painting
Painting does not automatically hide imperfections underneath the surface.
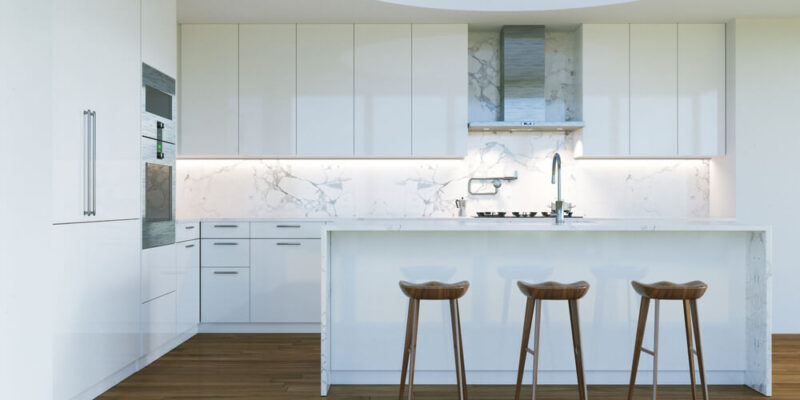
In fact, certain lighting conditions can make poorly finished joints, screw holes and uneven areas even more noticeable after painting.
A properly stopped wall provides a much better foundation for primer, undercoat and the final decorative coating.
This is particularly important when using lighter colours or when natural light falls directly across a wall.
Surface preparation therefore plays a major role in the appearance of the completed interior.
When Does a Home Need GIB Fixing?
GIB fixing is commonly required when the actual plasterboard has been damaged or when new sheets need to be installed.
A professional assessment may be useful if you notice:
- Large holes in walls
- Broken or cracked plasterboard
- Water-damaged GIB
- Sections removed during renovation work
- Loose or damaged panels
- New walls requiring plasterboard
- Areas affected by electrical or plumbing work
Small surface imperfections may not require complete GIB replacement, but larger damage can affect the structural and visual integrity of the wall.
When Does a Home Need GIB Stopping?
GIB stopping is generally needed when plasterboard has been newly installed or when existing joints and repairs require finishing.
You may need stopping when:
- New GIB has been installed
- Joints are visible
- Screw holes need finishing
- Repairs have left uneven areas
- You are preparing walls for painting
- A previous GIB finish was poorly completed
The goal is to produce a smooth, consistent surface that can be properly prepared and decorated.
How Plastering Fits Into GIB Repair and Finishing
GIB stopping and fixing are not the only types of wall-finishing work a property may require.
Older plaster surfaces, damaged walls or uneven areas may also require professional plastering.
The correct approach depends on the existing wall construction and the type and extent of damage.
For projects involving significant surface imperfections, professional plastering services can be used alongside GIB repair and finishing.
Can GIB Fixing and GIB Stopping Be Part of the Same Project?
Yes. In many renovation and construction projects, these services naturally form part of the same process.
A typical sequence might look like this:
1. Assess the existing wall
The condition of the wall or ceiling is inspected to determine what work is required.
2. Complete GIB fixing
Damaged plasterboard is repaired or replaced, or new GIB panels are installed.
3. Stop and finish the joints
Joints, corners and fixing points are treated to create a smooth surface.
4. Sand and prepare the surface
The finished area is prepared for the next stage.
5. Apply primer or undercoat
The prepared surface is sealed and made ready for the final coating.
6. Paint the finished wall
The final colour and coating are applied to complete the renovation.
Depending on the condition of the property, additional plastering or repairs may be required between these stages.
Should You Repair GIB Before Painting?
If the plasterboard is damaged, it is generally better to repair the underlying surface before applying decorative paint.
Painting over damaged GIB may temporarily improve the appearance, but it does not address the actual problem. Cracks, dents and uneven areas can remain visible and may affect the final result.
Good preparation is especially important if you are planning a complete interior repaint.
Choosing the Right GIB Service for Your Auckland Home
The difference between GIB fixing and GIB stopping is straightforward: fixing deals with the plasterboard itself, while stopping focuses on finishing the joints and fixing points.
Depending on your property, you may require one service or several stages of wall preparation.
FSM Housing provides GIB fixing, GIB stopping and other interior finishing services for residential and renovation projects.
Once the wall surfaces have been properly repaired and prepared, the next stage can be interior decoration and painting. Combining the right preparation with professional application can help create a smoother, cleaner and more durable finish for your home.